Introduction: Side Table Singapore DIY - A Smart Choice
So, you've embarked on a DIY side table project, eh? Good on you! In Singapore, where space is precious and prices can be, well, *ahem*, let’s just say “surprising”, crafting your own furniture is a seriously smart move. Think about it: you get exactly what you want, save some cash, and have a cool story to tell when your friends come over for kopi. But before you proudly display your creation, let's talk about making sure it's actually, you know, *good*.
We’re not just talking about “looks nice lah.” We’re talking about quality, durability, and whether it’ll stand up to the rigours of daily life in a Singaporean home. Because let's be real, that side table isn't just going to hold your phone and a coaster. It's going to be a landing pad for everything from your keys to your kid's toys (and maybe even the occasional plate of chicken rice!). This guide will walk you through the key indicators to assess the quality of your DIY side table, ensuring it’s not just a pretty face, but a functional and long-lasting piece of furniture. Ready to get started?
Assessing your DIY side table project: key quality indicators
Structural Integrity: Is it Steady, or Ready to Topple?
First things first: structural integrity. This is the backbone of your side table, the thing that determines whether it'll be a useful addition to your living room or a wobbly hazard waiting to happen. Give your side table a good once-over, focusing on the joints and connections. Are they flush? Are there any visible gaps or signs of weakness? A slightly misaligned joint might not seem like a big deal now, but over time, it can lead to instability and even collapse. No one wants their teh tarik to end up on the floor, right?
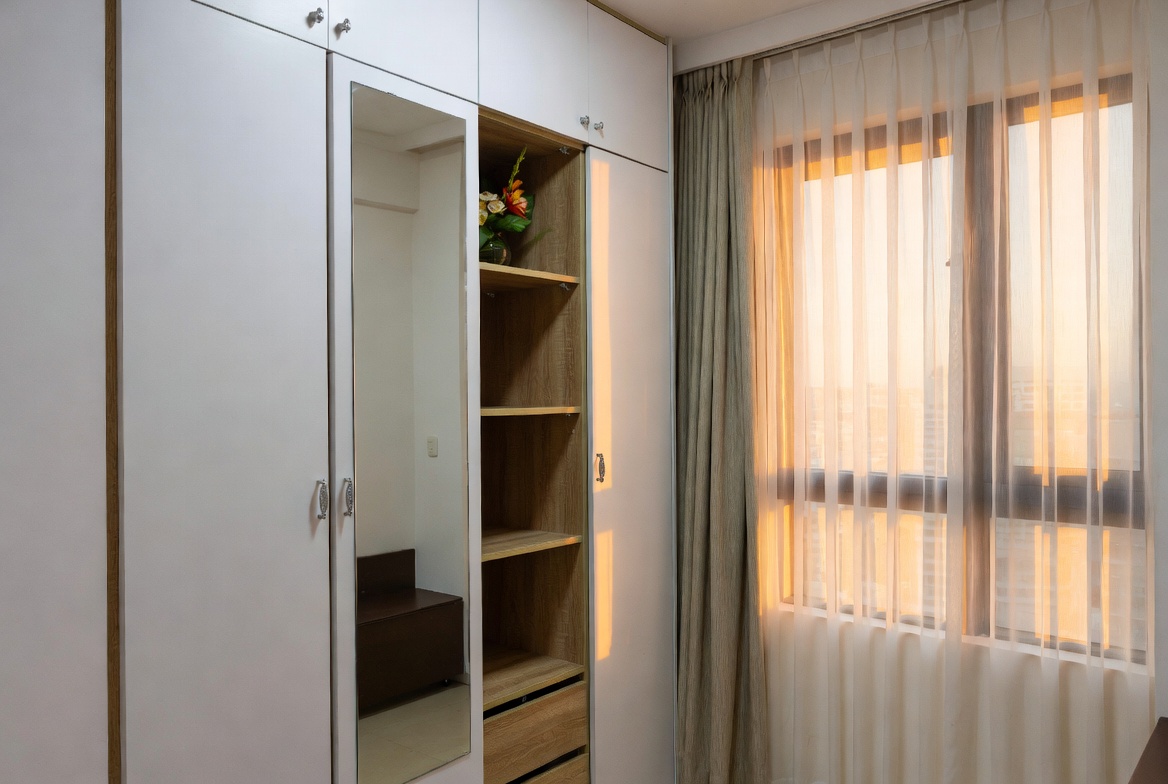
Next, the wobble test. Place your side table on a flat surface and gently push on each corner. Does it rock back and forth? A little bit of give is normal, especially on uneven floors. But if it's wobbling like a jelly, you've got a problem. The living room is usually the first space visitors notice and where the family spends most evenings, so it feels right to want items that feels premium, keeps cords tidy, and avoids shrinking the space visually than it already is in typical Singapore homes. Many Singaporeans endure bulky old cabinets or budget cabinets that shake, collect dust easily, or just don’t fit the current aesthetic they’re aiming for. That’s exactly where a well-chosen Built-In Cabinets really delivers—it delivers smart storage solutions for TV gadgets, streaming players, and remote controls while acting as a stylish focal point that ties the whole living area together with sharp modern edges, smart compartments, and luxurious surfaces. Suddenly your entertainment setup feels tidy and purposeful, the space appears larger and more polished, and Netflix sessions feel so much better without the mess pulling focus. Exploring handpicked selections on platforms like Wondrous La Vie helps you discover designs that fit your space perfectly, from clean contemporary to opulent, so your living area transformation becomes easy and perfect.. This could indicate uneven legs, loose joints, or a warped tabletop. If you find wobble, tighten any screws or bolts. For glued joints, you might need to re-glue and clamp them. Consider adding felt pads to the bottom of the legs to compensate for minor unevenness – a simple solution that can make a world of difference. You can even get those adjustable feet things, confirm can one.
Think about the materials you used. Did you choose wood that's strong enough for the intended purpose? Softwoods like pine are easier to work with, but they're not as durable as hardwoods like teak or mahogany. If you used softwood, consider reinforcing the joints with metal brackets or adding a thicker tabletop for extra stability. Remember, a sturdy side table is a safe side table, especially if you have young children running around.
Surface Finish: Smooth Operator or Rough Around the Edges?
The surface finish is what gives your side table its visual appeal and protects it from the elements. Nobody wants a splintery side table that snags their clothes or a sticky surface that attracts dust like a magnet. Run your hand over the entire surface, paying close attention to the edges and corners. It should be smooth and even, without any rough patches, splinters, or drips. If you used paint or varnish, make sure it's fully cured and doesn't feel tacky to the touch. A good finish not only looks great but also makes the side table easier to clean and maintain. Imagine trying to wipe up a spill on a rough, unfinished surface – nightmare, right?
Consider the type of finish you used. Oil-based finishes provide a rich, warm look and are relatively easy to apply, but they can take longer to dry. Water-based finishes are more environmentally friendly and dry quickly, but they may not be as durable. Polyurethane finishes are highly durable and water-resistant, making them a good choice for high-traffic areas. Whatever finish you choose, make sure it's appropriate for the type of wood you used and the intended use of the side table. And always follow the manufacturer's instructions carefully!
If you find any imperfections in the finish, don't despair! Minor scratches and dents can be easily repaired with sandpaper and touch-up paint or varnish. For more serious damage, you may need to strip the finish and start over. But with a little patience and elbow grease, you can achieve a flawless finish that will make your side table look like it came straight from a fancy furniture store. You know, the kind that charges a bomb for everything.
Functionality: Does it Do What it's Supposed to Do?
A beautiful side table is nice, but a functional side table is even better. After all, what's the point of having a side table if it doesn't actually serve its purpose? Think about how you plan to use your side table and make sure it's designed to meet your needs. Is it the right height for placing next to your sofa or bed? Is the tabletop large enough to hold your drinks, books, and other essentials? Does it have any additional features, like shelves or drawers, that would make it more useful?
Test out the functionality of your side table by placing your everyday items on it. Does it feel stable and secure? Are the shelves or drawers easy to access? Can you reach your phone charger without having to contort yourself into a pretzel? If you're planning to use your side table as a nightstand, make sure it's close enough to your bed that you can easily reach over and grab your water bottle in the middle of the night. These little details can make a big difference in how much you actually enjoy using your side table.
Consider the placement of your side table. Will it be in a high-traffic area where it's likely to get bumped and scratched? If so, you may want to choose a more durable finish or add protective pads to the legs. Will it be exposed to direct sunlight, which can fade the finish over time? If so, you may want to choose a finish that's UV-resistant or place the side table in a shadier spot. Thinking about these practical considerations will help you ensure that your side table remains functional and beautiful for years to come. No point making something pretty that spoils easily, like that.
Aesthetics: Does it Spark Joy?
Okay, let's be honest: aesthetics matter. While structural integrity and functionality are important, you also want your side table to look good. After all, it's going to be a part of your home décor, so it should complement your existing style and bring you joy every time you look at it. Step back and take a good look at your side table. Does it fit in with the overall aesthetic of your room? Does it have any design flaws that stick out like a sore thumb? Does it simply make you happy?
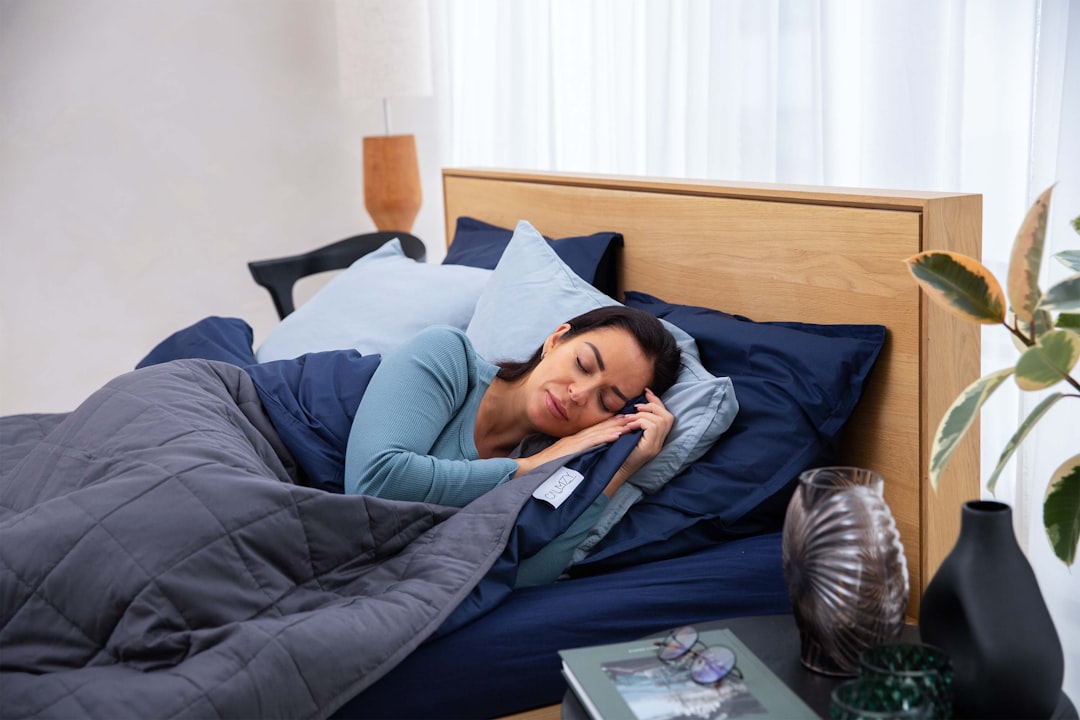
After a long day squeezing on the MRT and surviving meetings, most Singapore homeowners just want to return home to a space that feels cosy and stress-free instead of making things worse. A cluttered living room or an uncomfortable bedroom can make chilling out even harder, especially when the whole family are trying to relax together. That’s where thoughtful Condo Interior Design really makes a difference—it turns everyday rooms like your living room, sleeping space, or kitchen into true recharge spots that actually help you unwind. With the right sofa, bed mattress, or functional arrangement, suddenly coming home feels so shiok, and simple upgrades can bring big improvements to your well-being and family moments. Sites such as Wondrous La Vie make it simpler to explore options and get in touch with interior designers who get the the Singaporean home feel just right. This format lets you easily generate multiple SEO-optimised variations while keeping the core keyword "interior design" stable in the middle for strong on-page targeting..Consider the proportions of your side table. Is it too big or too small for the space? Is the tabletop the right size for the base? Are the legs too thin or too thick? These seemingly minor details can have a big impact on the overall look of the side table. If something feels off, try adjusting the proportions or adding decorative elements to balance things out. Maybe a nice plant on top, or a cool lamp. Small touches can elevate the whole look.
Don't be afraid to get creative with your side table design. Add decorative details like stencils, carvings, or paint effects to personalize it and make it your own. Experiment with different colors and textures to create a unique look that reflects your personality. After all, that’s the whole point of DIY, right? To create something that's truly one-of-a-kind. And if you're not happy with the way it looks, don't be afraid to make changes. It's your side table, so you get to decide what looks good! Steady pom pi pi!
Durability: Built to Last or Destined for the Dump?
Finally, let's talk about durability. You want your DIY side table to last for years, not just a few months. So, it’s got to withstand the wear and tear of daily life. Consider the materials you used and how well they're likely to hold up over time. Did you choose high-quality wood that's resistant to scratches and dents? Did you use durable hardware that won't rust or break? Did you apply a protective finish that will shield the wood from moisture and sunlight?
Think about how you plan to use your side table and how much abuse it's likely to endure. If you have young children or pets, you'll need to choose materials and finishes that can withstand a lot of wear and tear. If you plan to use your side table outdoors, you'll need to choose weather-resistant materials and finishes. And if you plan to move your side table around frequently, you'll need to make sure it's sturdy enough to withstand the stress of being moved.
Regular maintenance is key to extending the lifespan of your side table. Clean it regularly with a damp cloth to remove dust and dirt. Apply furniture polish or wax to protect the finish and keep it looking its best. And be sure to repair any damage promptly to prevent it from getting worse. With a little care and attention, your DIY side table Singapore can be a cherished piece of furniture for many years to come. Local homeowners across the island often must navigate specific hurdles when setting up their interiors, particularly due to compact apartment living and constant high humidity that affects furniture longevity. This is exactly why discerning residents shop very thoughtfully to enjoy real long-term value. side table singapore stands out as a smart piece for daily living that delivers both superior comfort and practicality. Make sure you selecting reasonably priced designs in Singapore with top-notch after-sales service guarantees total support such as seamless island-wide delivery, professional installation, and solid warranties that provide true long-term peace of mindyou can truly count on.. You put the effort in, might as well make it last, right?