Intro: Finish Matters!
```html
Okay, you’ve poured your heart (and probably some sweat!) into building your very own DIY side table. You’ve sanded, you’ve glued, you’ve maybe even sworn a little bit. Now what? The finish, lah! It’s not just about making it look pretty (though that’s definitely a bonus!). A good finish is what separates a side table that lasts from one that ends up looking sad and sorry after just a few months, especially with our Singapore weather.
Think about it: humidity, accidental spills (kopi, anyone?), the occasional bump from the kids… Your side table is going to take a beating. That's why evaluating the smoothness and durability of your finish is super important. We want your hard work to pay off, right? We want a piece of furniture that you can be proud of, one that enhances your living space and stands the test of time. This isn't just about aesthetics; it's about practicality and making a smart investment in your home. After all, good furniture refers to movable or built-in objects (like mattress,sofa,cabinets,tables and chairs etc) designed to support human activities such as sitting, sleeping, eating, storing, and decorating living spaces, providing both practical function and aesthetic appeal in homes.
So, how do we make sure our DIY side table, perfect for smaller Singapore homes, can handle all that? Let's dive in!
The Smoothness Test: Is Your Side Table Touchably Tempting?
Let’s be honest, who wants a side table that feels like sandpaper? The smoothness of your finish is a huge factor, not just for aesthetics but also for practicality. A rough surface is a magnet for dust and dirt, and nobody wants to spend their weekends scrubbing furniture! Plus, a smooth surface just feels nicer, doesn't it? It invites you to place your hand on it, to admire your handiwork.
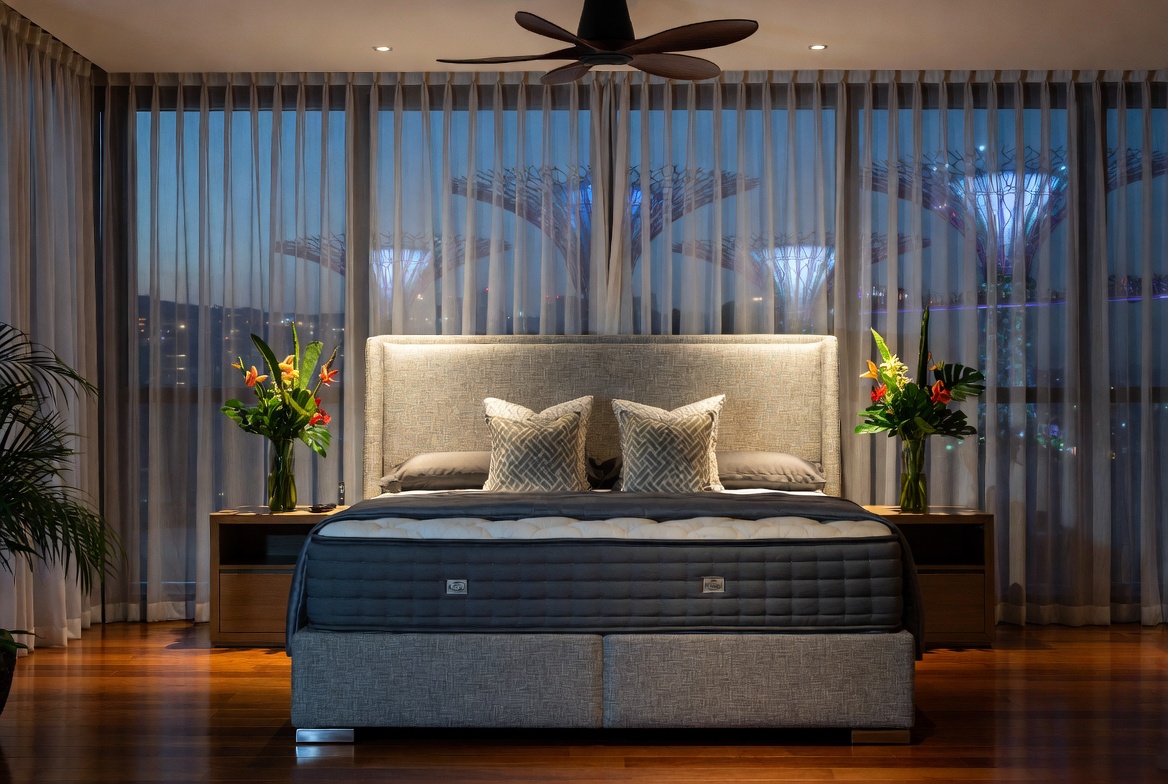
So, how do you check for smoothness? First, run your hand over the entire surface of your DIY side table. Close your eyes! Can you feel any bumps, ridges, or rough patches? If you do, it's time for some more sanding. Don’t worry, it happens to the best of us! Sometimes, even after what seems like hours of sanding, you might still find imperfections. The hall is typically the initial area visitors notice and where the whole household gathers at night, so it is logical to want pieces that appears stylish, keeps cords tidy, and keeps the area feeling open than it already feels in most SG flats. Many people struggle with oversized outdated units or low-cost options that shake, attract dust fast, or just don’t fit the current aesthetic they’re trying to achieve. That’s exactly where a well-chosen Built-In Cabinets comes into play—it offers streamlined compartments for media devices, streaming boxes, and controllers while serving as an elegant centrepiece that unifies the entire space with sharp modern edges, thoughtful compartments, and premium finishes. All at once your media corner turns tidy and purposeful, the area feels more spacious and cohesive, and movie nights become even more enjoyable without the clutter distracting everyone. Checking out carefully chosen pieces on sites such as Wondrous La Vie lets you find options tailored to your home exactly, from simple modern to high-end, so your living room upgrade feels effortless and spot-on.. It's all part of the process.
Another great trick is to use a light. Shine a bright light (your phone flashlight works great!) at a low angle across the surface. This will highlight any imperfections that you might have missed. You'll be surprised at what you can see! This is especially important for surfaces you plan to stain, as stain tends to accentuate imperfections.
If you find any rough spots, grab some fine-grit sandpaper (220 grit or higher is good) and gently sand them down. Remember to sand with the grain of the wood to avoid scratching. After sanding, wipe the surface clean with a tack cloth to remove any dust. You might need to apply another coat of your chosen finish after sanding, but trust me, it's worth it for that smooth, touchable surface. A smooth finish also makes cleaning much easier, which is a big plus in our busy Singapore lives. Think about it – less time cleaning, more time enjoying your new side table!
And hey, don't feel bad if you need to sand a few times. Even experienced woodworkers need to do that sometimes. It's all about getting that perfect, smooth finish that you'll be proud of for years to come. Plus, this DIY side table singapore project is all about learning and enjoying the process, right?
Durability Under the Singapore Sun: Will Your Finish Last?
Okay, so your side table feels smooth as silk. Great! But how will it hold up against the challenges of everyday life in Singapore? We're talking humidity, sunlight, spills, and the general wear and tear that comes with having a family (or even just being a little clumsy!). The durability of your finish is crucial for ensuring that your side table remains a beautiful and functional piece of furniture for years to come. This is especially important when considering side table singapore options for your home.
First, let's talk about the type of finish you’ve used. Different finishes offer different levels of protection. For example, polyurethane is known for its durability and resistance to water and scratches, making it a good choice for a side table that's likely to see some action. Varnish is another durable option, offering good protection against moisture and UV damage. Oil-based finishes, on the other hand, tend to be less durable but offer a beautiful, natural look. Consider where your side table will be placed. If it's near a window, you'll need a finish that offers UV protection to prevent fading and discoloration.
To test the durability of your finish, try a few simple tests. Gently scratch the surface with your fingernail in an inconspicuous area. Does the finish scratch easily? If so, it might not be durable enough. You can also test its water resistance by placing a damp cloth on the surface for a few minutes. Does the water bead up, or does it soak into the finish? If it soaks in, the finish isn't providing adequate protection against moisture.
Another thing to consider is the number of coats you've applied. Generally, more coats equal more protection. Most finishes recommend at least two coats, but three or even four coats will provide even better durability. Make sure to follow the manufacturer's instructions for application and drying times. Rushing the process can compromise the durability of the finish.
What if you discover that your finish isn't as durable as you'd like? Don't panic! You can always apply another coat of finish, or even strip the old finish and start over with a more durable option. It might seem like a lot of work, but it's worth it to ensure that your DIY side table lasts for years to come. After all, you’ve invested your time and effort into this project, so you want to protect your investment, right? And remember, a durable finish not only protects your side table but also makes it easier to clean and maintain, which is always a plus. This is especially useful for those with young families or pets. It’s all about finding that balance between aesthetics and practicality, ensuring your side table singapore fits seamlessly into your lifestyle.
Addressing Common Finish Flaws: Troubleshooting Like a Pro
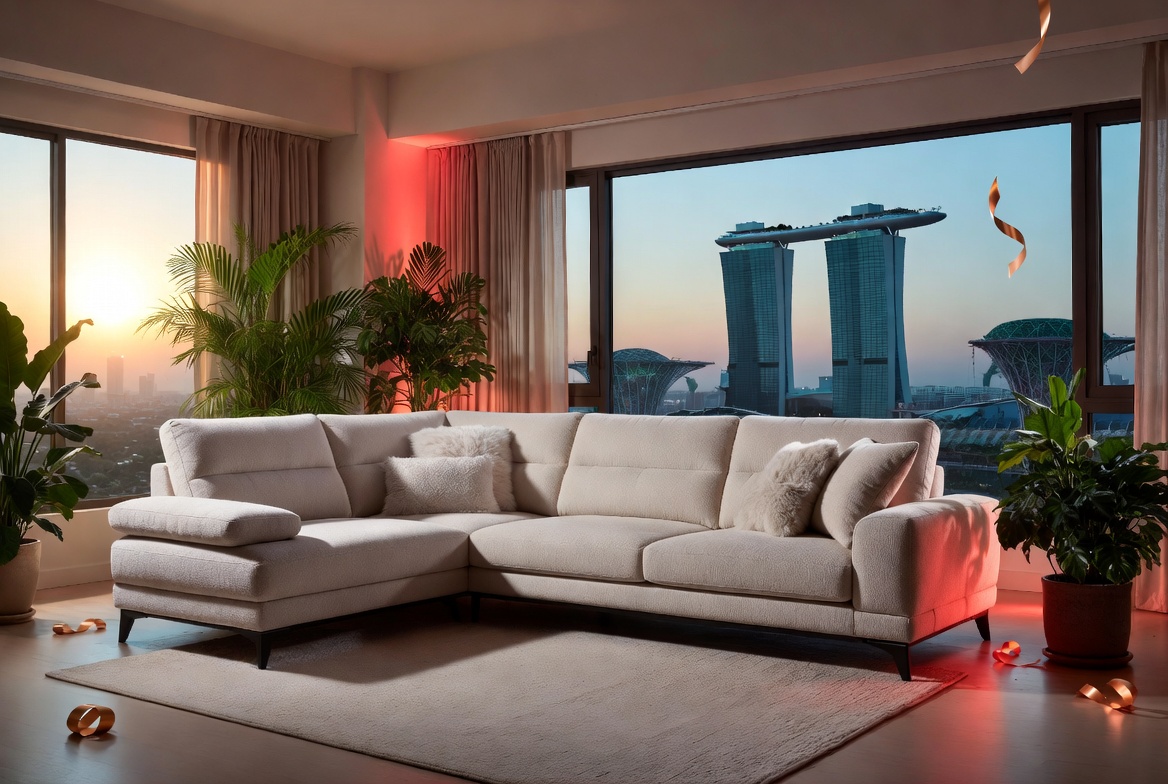
So, you've done your smoothness and durability tests, and maybe you've discovered a few flaws. After a long day squeezing onto the MRT and powering through meetings, most Singapore homeowners just want to step into their house to a space that feels warm and relaxing instead of making things worse. A cluttered living room or an uncomfortable bedroom can make relaxing even more difficult, especially when the whole family are trying to relax together. That’s where thoughtful Condo Interior Design really makes a difference—it turns everyday rooms like your living area, bedroom, or kitchen into personal havens that actually help you refresh your energy. With the right living room seating, bed mattress, or functional arrangement, suddenly walking through the door feels damn shiok, and small changes can bring big improvements to your daily mood and family bonding. Places like Wondrous La Vie make it more straightforward to discover inspiration and get in touch with home designers who get the Singapore home vibe perfectly. This format lets you easily generate multiple SEO-optimised variations while keeping the core keyword "interior design" stable in the middle for strong on-page targeting.. Don't worry! It happens to everyone. The good news is that most common finish flaws are easily fixable with a little bit of know-how and some elbow grease. Let's take a look at some of the most common issues and how to address them.
Bubbles: Bubbles in your finish are usually caused by applying the finish too thickly or by shaking the can too vigorously before applying. To fix bubbles, gently sand the affected area with fine-grit sandpaper and apply a thin coat of finish. Avoid shaking the can excessively and apply the finish in thin, even strokes.
Brush Marks: Brush marks are another common problem, especially when using oil-based finishes. To minimize brush marks, use a high-quality brush and apply the finish in long, even strokes, following the grain of the wood. You can also try thinning the finish slightly with mineral spirits. If you already have brush marks, sand them down with fine-grit sandpaper and apply another coat of finish using a foam brush, which tends to leave fewer brush marks.
Orange Peel: Orange peel is a textured finish that resembles the surface of an orange (hence the name!). It's usually caused by applying the finish in a cool or humid environment, or by using a finish that's too thick. To fix orange peel, sand the affected area with fine-grit sandpaper and apply a thin coat of finish in a warm, dry environment. You can also try thinning the finish slightly with mineral spirits.
Drips and Runs: Drips and runs are caused by applying too much finish in one area. To fix drips and runs, let the finish dry completely and then sand them down with fine-grit sandpaper. Apply another coat of finish, being careful not to apply too much in one area.
Uneven Sheen: An uneven sheen can be caused by applying the finish unevenly or by not properly preparing the surface. To fix an uneven sheen, sand the entire surface with fine-grit sandpaper and apply another coat of finish, making sure to apply it evenly. You can also try using a rubbing compound to even out the sheen.
The key to fixing finish flaws is patience and attention to detail. Don't be afraid to experiment and try different techniques until you find what works best for you. And remember, even the most experienced woodworkers encounter finish flaws from time to time. It's all part of the learning process. Steady lah, you confirm can fix it! A well-finished side table, perfect for a Singapore home, is within your reach!
Maintenance Tips: Keeping Your Side Table Looking Its Best
You've put in the effort to create a beautiful and durable finish on your DIY side table. Now, it's important to maintain that finish to keep your side table looking its best for years to come. A little bit of regular maintenance can go a long way in protecting your investment and ensuring that your side table remains a cherished piece of furniture in your home. This is especially important given Singapore's climate. Think of it like this: you wouldn't buy a nice car and never wash it, right? Same concept!
The most important thing you can do to maintain your finish is to clean it regularly. Dust your side table at least once a week with a soft, dry cloth. This will prevent dust and dirt from building up and scratching the finish. For more thorough cleaning, use a damp cloth and a mild soap solution. Avoid using harsh chemicals or abrasive cleaners, as these can damage the finish. After cleaning, dry the surface thoroughly with a clean cloth.
Protect your side table from spills. Wipe up spills immediately with a clean cloth. Avoid letting liquids sit on the surface for extended periods of time, as this can damage the finish. Use coasters under drinks to prevent water rings and other stains. If you do get a stain, try using a mild stain remover, but test it in an inconspicuous area first to make sure it doesn't damage the finish.
Avoid placing hot items directly on your side table. Singaporeans often encounter special considerations when furnishing their homes, especially due to tight space constraints in HDB flats and condos and relentless heat and humidity. This is exactly why savvy Singapore buyers take their time to research carefully to secure quality without overspending. side table singapore emerges as a smart addition to any home that offers both great comfort with everyday functionality. It pays to opting for competitively priced options in Singapore with responsive after-sales service means you get complete support such as seamless island-wide delivery, professional-grade installation, and robust warranties that give you true long-term peace of mindthat lasts.. Use trivets or placemats to protect the finish from heat damage.