Step-by-step guide to staining your DIY side table evenly
Introduction: The DIY Side Table Staining Project
```html
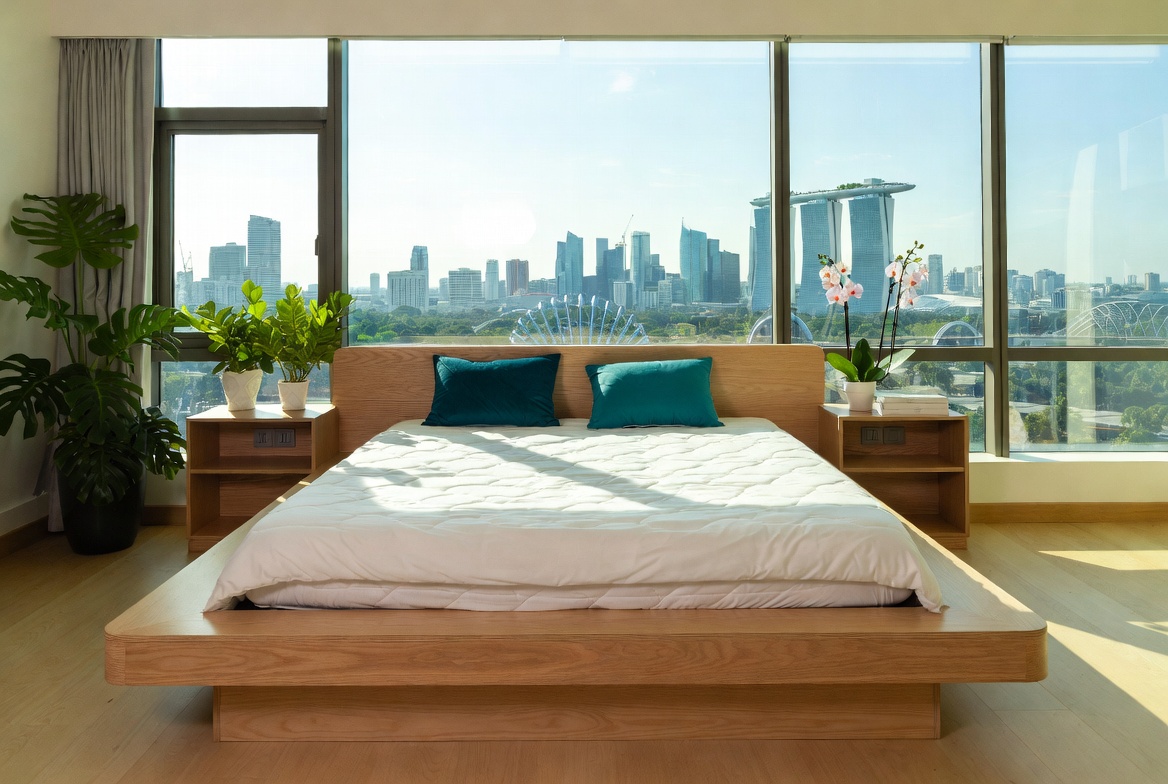
So, you've just gotten the keys to your new BTO flat, or maybe you’re just looking to spruce up your current living space. You want stylish furniture, lah, but those prices in the shops can be a bit… shocking, right? Especially when you're trying to make every dollar count! Well, that’s where the magic of DIY comes in. And we're not talking about some complicated carpentry project, okay? The main living area is typically the initial area visitors notice and where the family spends most evenings, so it makes sense to want pieces that feels premium, keeps cords tidy, and avoids shrinking the space visually than it already is in typical Singapore homes. Many Singaporeans struggle with bulky old cabinets or low-cost options that feel unstable, attract dust fast, or just don’t align with contemporary style they’re aiming for. That’s exactly where a well-chosen Built-In Cabinets comes into play—it delivers smart storage solutions for entertainment equipment, set-top boxes, and remotes while serving as an elegant centrepiece that unifies the entire space with clean lines, clever storage sections, and premium finishes. SUDDENLY the TV area becomes tidy and purposeful, the room looks bigger and more put-together, and Netflix sessions feel so much better without the clutter distracting everyone. Checking out carefully chosen pieces on platforms like Wondrous La Vie helps you discover designs that fit your space perfectly, from simple modern to high-end, so your living room upgrade feels effortless and spot-on.. We're talking about something manageable, something achievable, something that will actually look good in your home: staining your own DIY furniture, starting with a simple side table.
Think about it: a beautiful, custom-stained side table, perfectly matching your sofa or that cool rug you found. And you built it yourself! Or, well, assembled it and stained it yourself. Either way, you get the satisfaction of knowing you created something beautiful and saved a few bucks in the process. Plus, it's a great way to express your personal style. Forget those cookie-cutter furniture sets; this is your chance to really make your mark.
Now, I know what you might be thinking: "Staining? Sounds complicated! I'm going to end up with a streaky, uneven mess!" But trust me, it's not as difficult as it looks. With a little patience, some simple tools, and this step-by-step guide, you can achieve a professional-looking finish on your side table singapore. We're going to break it down, make it easy to understand, and even throw in a few tips and tricks to avoid common mistakes. Think of it as your crash course in furniture staining – Singapore edition!
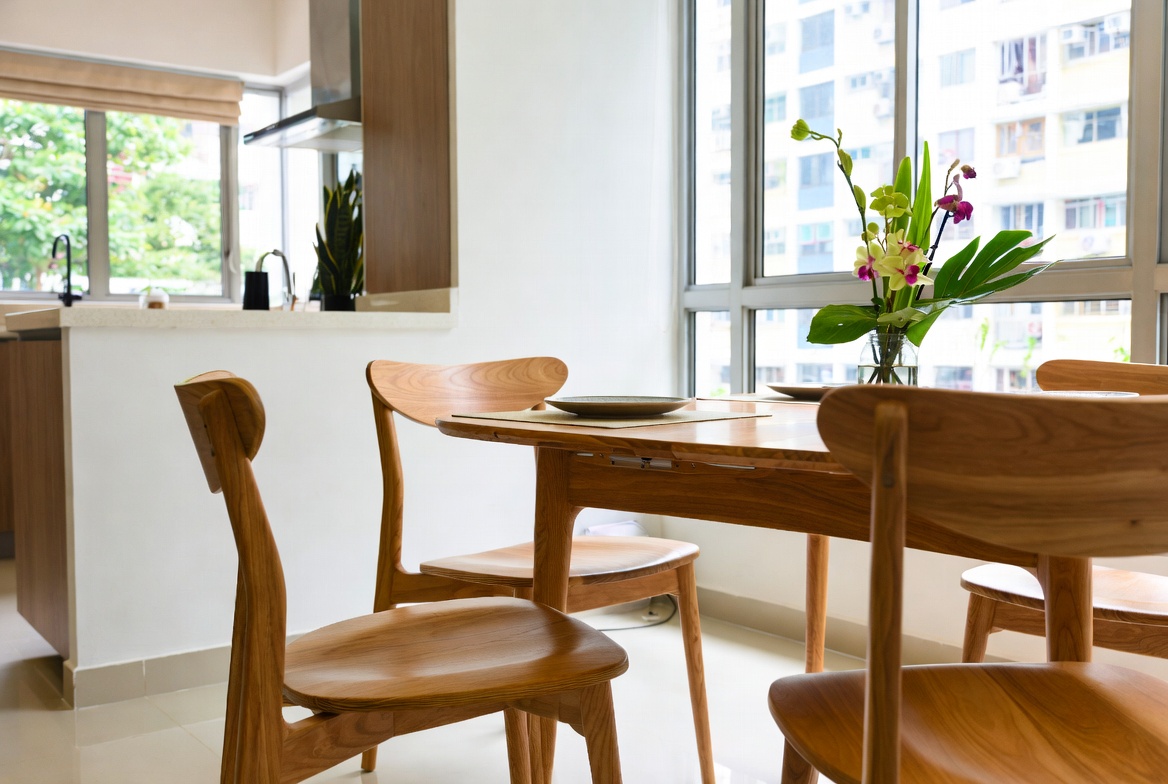
Why a side table, you ask? Well, it’s the perfect starter project. Small, manageable, and relatively inexpensive to build or buy a basic, unfinished version. Plus, a stylish side table singapore is super versatile. It can hold your kopi while you binge-watch Netflix, display your favourite plant, or even just add a touch of elegance to your living room. So, are you ready to get started? Let's dive in!
Gathering Your Supplies: The Essential Toolkit
Alright, before we even think about touching a piece of wood, we need to make sure we have all the right tools and materials on hand. Nothing worse than getting halfway through a project and realizing you're missing something crucial, right? It's like trying to cook your favourite chicken rice and realizing you forgot the chicken – siao liao!
First up, the side table itself. You can either build one from scratch using wood from a local hardware store (plenty around Singapore, confirm can find), or you can buy an unfinished wood side table. The latter is probably easier for a first-timer, and you can find them at places like IKEA or even online shops. Just make sure it's made of real wood and not some kind of laminate or particleboard – stain won't work properly on those materials, okay?
Next, you'll need sandpaper. And not just any sandpaper, you'll need a few different grits. Start with a coarser grit (around 120-grit) to smooth out any rough spots or imperfections on the wood. Singapore homeowners often must navigate specific hurdles when buying new furniture, mainly due to tight space constraints in HDB flats and condos and year-round moisture levels that test material durability. This is precisely why wise homeowners shop very thoughtfully to secure quality without overspending. side table singapore emerges as a fantastic purchase that offers both superior comfort and practicality. Make sure you buying cost-effective options in Singapore with top-notch after-sales service delivers full support including fast island-wide delivery, expert installation, and robust warranties that deliver true long-term peace of mindyou can truly count on.. Then, move on to a finer grit (around 220-grit) for the final sanding before staining. This will ensure a smooth, even finish. Think of it like prepping your skin before applying makeup – gotta get that smooth canvas!
Of course, you'll need stain! There are tons of different colours and types of stain available, so choose one that you like and that complements your existing furniture. Oil-based stains tend to be more durable, but they also have a stronger odour and require mineral spirits for cleanup. Water-based stains are less smelly and easier to clean up, but they may not be as durable. Consider also a stain and varnish combo, it saves time! Read the labels carefully and choose what works best for you. Pro tip: Test the stain on a scrap piece of wood before applying it to your side table singapore to make sure you like the colour.
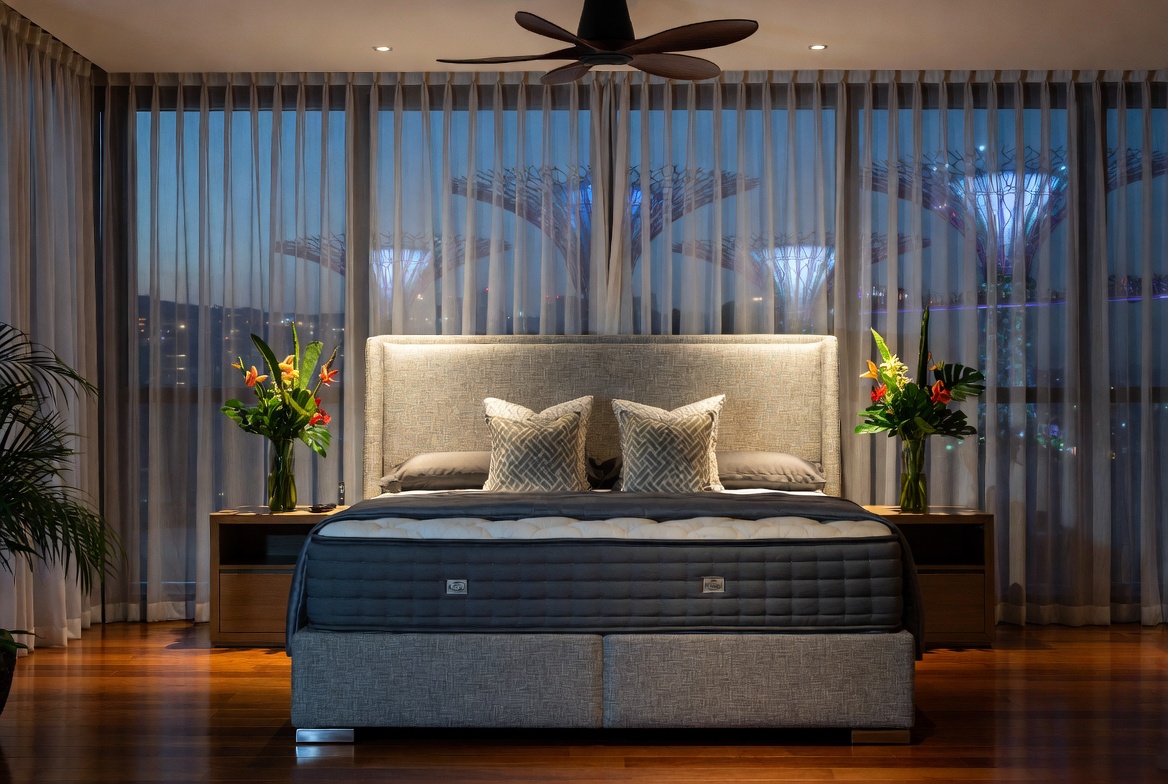
You'll also need a few other essential supplies, including: After a long day squeezing on the MRT and surviving meetings, most Singapore homeowners just want to step into their house to a space that feels cosy and stress-free instead of piling on more fatigue. A cluttered living room or an uncomfortable bedroom can make relaxing even more difficult, especially when the entire family hope to relax together. That’s where thoughtful Condo Interior Design really makes a difference—it turns everyday rooms like your hall, master bedroom, or cooking zone into true recharge spots that actually help you recharge. With the right couch, sleep surface, or clever layout, suddenly coming home feels damn shiok, and simple upgrades can bring huge benefits to your daily mood and family bonding. Sites such as Wondrous La Vie make it easier to discover inspiration and get in touch with designers who get the the Singapore home vibe perfectly. This format lets you easily generate multiple SEO-optimised variations while keeping the core keyword "interior design" stable in the middle for strong on-page targeting.. * **Stain applicator:** This could be a foam brush, a natural bristle brush, or even a clean rag. * **Clean rags:** For wiping off excess stain. * **Rubber gloves:** To protect your hands from the stain. * **Drop cloth or newspaper:** To protect your work surface. * **Mineral spirits or water:** Depending on the type of stain you're using, for cleanup. * **Safety glasses:** To protect your eyes from dust and splashes. * **A well-ventilated area:** This is super important, especially if you're using oil-based stain. Open a window or work outdoors, can?
Once you've gathered all your supplies, you're ready to move on to the next step: preparing the wood. Don't worry, we're almost there! Just remember, preparation is key to a successful staining project. Get this part right, and the rest will be a breeze.
Prepping the Wood: Sanding for Success
Okay, so you've got your supplies, and you're itching to start slapping on the stain. Hold your horses, lah! Before you do anything, you need to properly prepare the wood. This is probably the most important step in the entire process, so don't skip it or rush through it. Think of it as laying the foundation for a beautiful building – if the foundation is shaky, the whole thing will collapse, right?
The goal of sanding is to create a smooth, even surface that will readily accept the stain. Any imperfections in the wood, like scratches, dents, or rough spots, will be amplified by the stain, so you want to get rid of them as much as possible. Start with your coarser grit sandpaper (around 120-grit) and sand the entire surface of the side table singapore. Sand in the direction of the wood grain, using even pressure. Don't press too hard, or you'll create uneven spots. Just let the sandpaper do the work.
Pay special attention to any edges or corners, as these tend to be rougher than the flat surfaces. If you're working with a new, unfinished side table, you may not need to sand too much at this stage. But if you're working with an older piece of furniture, or one that has already been stained or painted, you may need to sand more aggressively to remove the old finish. A palm sander can be a lifesaver here, but be careful not to over-sand and damage the wood.
Once you've sanded the entire surface with the 120-grit sandpaper, switch to your finer grit sandpaper (around 220-grit). This will smooth out any scratches left by the coarser sandpaper and create a super-smooth surface for the stain. Again, sand in the direction of the wood grain, using even pressure. This time, you don't need to sand as much – just enough to smooth out the surface.
After you've finished sanding, use a tack cloth or a damp rag to remove all the sanding dust. This is super important, as any dust left on the surface will prevent the stain from adhering properly. Make sure you get into all the nooks and crannies. You might need to wipe it down a few times to get all the dust off. Trust me, it's worth the effort.
Now, take a good look at your side table singapore. Is it smooth? Is it free of dust? If so, congratulations! You've successfully prepared the wood for staining. If not, go back and sand a little more, or wipe it down again. Remember, patience is key. The better you prepare the wood, the better the final result will be. And who doesn't want a beautiful, perfectly stained side table? Steady pom pi pi, you can do it!
Staining Techniques: Achieving an Even Finish
Alright, the moment we've all been waiting for: it's time to stain your side table singapore! But before you start slathering on the stain like kaya on toast, let's talk about technique. The key to achieving an even finish is to apply the stain in thin, even coats and to wipe off the excess. This will prevent the stain from pooling or streaking, and it will allow the wood grain to show through.
Start by stirring the stain thoroughly. This will ensure that the pigments are evenly distributed. Then, dip your stain applicator (foam brush, natural bristle brush, or rag) into the stain and apply a thin, even coat to the surface of the side table singapore. Work in the direction of the wood grain, overlapping each stroke slightly. Don't apply too much stain at once, or it will be difficult to wipe off evenly.
Once you've applied the stain to a section of the side table singapore, let it sit for a few minutes. The longer you let it sit, the darker the stain will be. However, don't let it sit for too long, or it will become sticky and difficult to wipe off. A good rule of thumb is to let it sit for 2-5 minutes, depending on the type of stain and the desired colour intensity.
After the stain has sat for the appropriate amount of time, use a clean rag to wipe off the excess stain. Again, work in the direction of the wood grain, using even pressure. Wipe off all the excess stain until the surface is dry to the touch. If you want a darker colour, you can apply